
I was hunched over my bathroom floor last Saturday, scrubbing a single tile line with a toothbrush and feeling a mounting sense of dread, when I realized I was doing it all wrong. We’ve been sold this idea that deep cleaning requires expensive, caustic chemicals and hours of back-breaking labor, but that’s a recipe for burnout, not a clean home. When it comes to learning how to clean grout, the secret isn’t in the intensity of your scrubbing; it’s in the efficiency of your system. I spent way too much time in my twenties thinking I had to tackle every mess with brute force, but my experience in operations has taught me that a little bit of preparation saves a massive amount of energy later.
In this guide, I’m stripping away the complicated checklists and the overpriced cleaning kits you don’t actually need. I’m going to show you my straightforward, low-effort approach to getting those lines bright again without turning your weekend into a chore. We’ll cover the exact tools I keep in my utility closet and a simple, repeatable method to ensure you only have to do this once in a blue moon. Let’s get your space back.
Table of Contents
Guide Overview
Tools & Supplies
- Stiff grout brush or old toothbrush for scrubbing
- Microfiber cloth or sponge for wiping away residue
- Baking soda (1 cup)
- Warm water (as needed for paste)
- White vinegar (1/2 cup)
- Dish soap (few drops)
Step-by-Step Instructions
- 1. First, I always clear the floor of any loose debris. Grab a vacuum with the hose attachment and go over the tiles to suck up any hair, dust, or crumbs sitting in the crevices. You don’t want to be stirring up a muddy mess later by adding liquid to a pile of dry dirt.
- 2. Next, let’s prep a simple cleaning solution. I’m not a fan of buying expensive, specialized chemicals that sit in the cabinet for years; instead, mix a bit of warm water with a dash of mild dish soap. If the grout is particularly stubborn or discolored, a small amount of baking soda can act as a gentle abrasive that gets the job done without stripping the finish.
- 3. Once your solution is ready, apply it to the grout lines using an old toothbrush or a dedicated grout brush. Don’t soak the entire floor—just focus on the lines themselves. I find that letting the solution sit for about five to ten minutes does most of the heavy lifting for you, so you don’t have to scrub quite as hard.
- 4. Now comes the actual scrubbing. Use firm, circular motions to work the cleaner into the grout. If you hit a particularly dark spot, don’t get frustrated; just apply a little more pressure or a tiny bit more baking soda. The goal isn’t to achieve a sterile laboratory finish, but to remove the visible grime that makes the room feel cluttered.
- 5. After you’ve finished scrubbing, it’s time to rinse. Take a clean, damp microfiber cloth or a sponge and wipe away the dirty residue. I prefer using a bucket of fresh, plain water to ensure you aren’t just re-depositing the dirt back into the pores of the grout.
- 6. Finally, let the area dry completely. If you have a floor fan, point it toward the tiles for a few minutes to speed things up. Once it’s dry, take a moment to look at the result. It’s a small win, but seeing those clean lines makes the whole space feel significantly more intentional and calm.
Finding the Best Grout Cleaner for Tile Without Overcomplicating Things
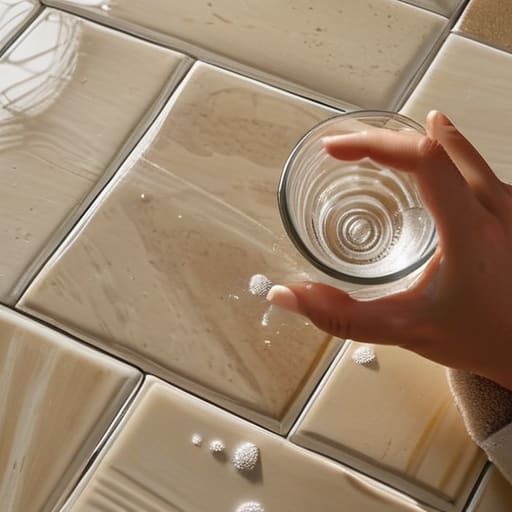
I used to spend way too much time scrolling through endless “best of” lists, trying to find the perfect chemical miracle to fix my floors. It’s a classic trap. In reality, you don’t need a chemistry degree or a cabinet full of specialized bottles to get the job done. If you’re looking for the best grout cleaner for tile, my rule of thumb is to start with the simplest option possible. Often, a concentrated solution of baking soda and vinegar works just as well as the expensive stuff you find in big-box stores.
If you’re dealing with something more stubborn, like removing mold from grout in a high-moisture bathroom, that’s when you might want to step up to a dedicated enzyme cleaner. But even then, don’t let the shopping process become another source of decision fatigue. Pick one reliable product, keep it under the sink, and move on with your day.
The real secret isn’t the liquid in the bottle, though; it’s the hardware. Instead of fighting with a tiny toothbrush, invest in a few decent grout scrubbing tools, like a stiff-bristled hand brush. It makes the physical work feel less like a chore and more like a predictable, manageable task. Once the grime is gone, consider a quick grout sealer application to keep things looking decent for longer—it’s a small upfront investment that saves you massive amounts of time down the road.
Simple Natural Grout Cleaning Solutions for a Refreshing Reset
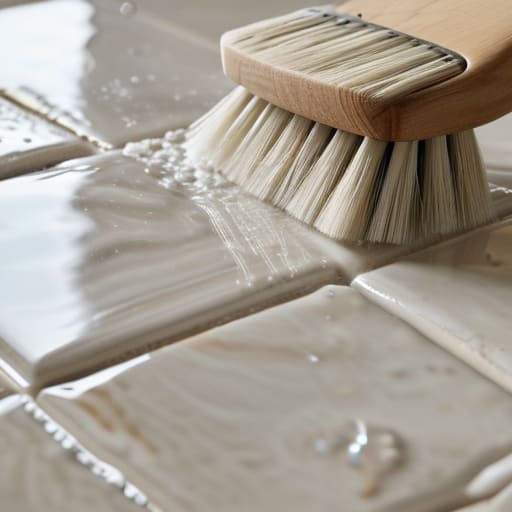
If you’re like me, you probably don’t want a cabinet full of specialized chemicals just to handle a quick refresh. I’ve found that some of the most effective natural grout cleaning solutions are likely already sitting in your pantry. A simple mixture of baking soda and water creates a thick paste that does the heavy lifting for you. If you’re dealing with more stubborn discoloration—specifically when it comes to removing mold from grout in the shower—adding a splash of white vinegar to the mix can provide that extra bit of acidity needed to break things down without the harsh fumes.
The trick to making these natural methods work is patience rather than force. Instead of scrubbing frantically, apply your paste, let it sit for about ten minutes, and then use your grout scrubbing tools to work it in. I usually reach for an old toothbrush or a stiff-bristled nylon brush; it gives you the right amount of control without damaging the tile. It’s not about achieving a sterile, laboratory-grade finish; it’s about clearing the grime so your space feels intentional and cared for again. Once you’ve cleared the buildup, you’ve already won half the battle.
Five Small Habits to Keep the Grime at Bay
- Don’t wait for a deep clean. If you see a dark spot forming while you’re already scrubbing the shower or floor, just give that specific line a quick hit with a brush right then. It takes thirty seconds and prevents a massive weekend project later.
- Invest in a decent stiff-bristled brush—nothing fancy, just something that won’t fall apart. I’ve learned the hard way that using a soft toothbrush is a recipe for frustration; you need something with enough backbone to actually move the dirt.
- Protect your progress by sealing the grout once it’s clean. It feels like an extra step, but it creates a barrier that makes future cleaning much faster. Think of it as a tiny bit of maintenance that saves you hours of labor down the road.
- Keep your cleaning supplies in one dedicated spot. I keep my grout brush and my go-to solution in a small bin under the sink. If I have to hunt for tools, I’m much less likely to actually do the work.
- Focus on the high-traffic lines first. If you’re short on time, don’t feel like you have to tackle every square inch of the room. Just hit the areas where people actually walk or where water sits; that’s where the real visual impact happens.
The Small Win of a Clean Space
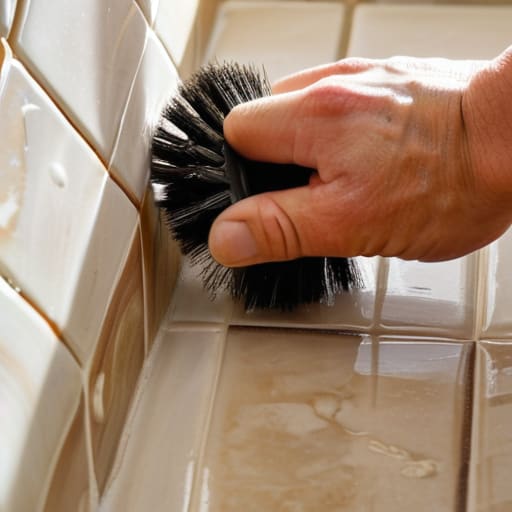
At the end of the day, cleaning grout doesn’t have to be this massive, weekend-ruining ordeal. Whether you decided to go the route of a heavy-duty commercial cleaner or kept it simple with a natural vinegar solution, the goal was the same: removing the visual noise that builds up in your home. Remember, you don’t need a professional-grade setup or a dozen specialized chemicals to see a difference. Just grab your brush, follow the system we talked about, and focus on one small area at a time to avoid feeling overwhelmed.
I’ve found that these little maintenance tasks are actually more about mental clarity than they are about actual dirt. When my kitchen tiles look dingy, my brain feels a little cluttered too. By taking twenty minutes to reset those lines, you aren’t just cleaning a floor; you’re reclaiming your environment. Don’t worry about making everything look showroom-perfect or chasing that impossible standard of flawlessness. Just focus on building the habit of a quick, periodic reset. Once you see that immediate improvement, you’ll realize that small, repeatable actions are the real key to a calm, functional home.
Frequently Asked Questions
How often should I actually be doing this to keep it from getting overwhelming?
I’ve learned the hard way that if you wait until the grime is baked in, it becomes a chore you’ll end up dreading. Instead of a massive deep clean, I aim for a “maintenance sweep” once a month—just a quick scrub of the high-traffic areas. If you’re feeling ambitious, a five-minute wipe-down after your weekly floor mop keeps things manageable. The goal isn’t a spotless showroom; it’s just preventing the overwhelm.
Is there a way to prevent the grime from coming back so often?
The best way to fight back is to stop treating grout like a sponge. Once it’s clean and dry, I swear by a high-quality grout sealer. It’s a small, one-time investment that creates a barrier so spills sit on top instead of soaking in. If you don’t want to go that route, just make it a habit to wipe down your tiles after heavy use. It’s about building a small defense so you aren’t constantly scrubbing.
Can I use these same methods on my kitchen backsplash, or is that too delicate?
You can definitely use these same methods on your backsplash, but I’d suggest a quick “test patch” first. Since backsplashes are often at eye level, you’ll notice any streaks or damage more easily. If you’re using a natural mix, just be a bit more gentle with the scrubbing—you don’t want to accidentally loosen any tiles or damage a delicate finish. Treat it like a fine piece of furniture: a little patience goes a long way.
What do I do if the grout is actually stained or discolored rather than just dirty?
If you’re staring at deep, stubborn discoloration, a quick scrub probably won’t cut it. At that point, we’re looking at actual staining. I usually recommend a dedicated grout sealer once you’ve managed to get it clean; it creates a barrier so the stains can’t settle back in. For the heavy lifting, try a paste of baking soda and hydrogen peroxide. Let it sit for fifteen minutes—give the chemistry time to work so you don’t have to.